Apache POI PPT - 图片
在本章中,您将学习如何将图像添加到PPT以及如何从中读取图像。
添加图像
您可以使用 XSLFSlide 的 createPicture()方法将图片添加到演示文稿。 此方法接受以字节数组格式形式的图像。 因此,您必须创建要添加到演示文稿的图像的字节数组。
按照给定的过程向演示文稿添加图像。 使用 XMLSlideShow 创建空白幻灯片,如下所示:
XMLSlideShow ppt = new XMLSlideShow();
使用 createSlide()创建一个空的演示文稿。
XSLFSlide slide = ppt.createSlide();
使用 IOUtils 类的 IOUtils.toByteArray()读取要添加的图像文件并将其转换为字节数组,如下所示:
//reading an image
File image=new File("C://POIPPT//boy.jpg");

//converting it into a byte array
byte[] picture = IOUtils.toByteArray(new FileInputStream(image));
使用 addPicture()将图片添加到演示文稿。 此方法接受两个变量:要添加的图像的字节数组格式和表示图像的文件格式的静态变量。 addPicture()方法的用法如下所示:
int idx = ppt.addPicture(picture, XSLFPictureData.PICTURE_TYPE_PNG);
使用 createPicture()将图片嵌入幻灯片,如下所示:
XSLFPictureShape pic = slide.createPicture(idx);
下面给出了在演示文稿中向幻灯片添加图片的完整程序:
import java.io.File;
import java.io.FileInputStream;
import java.io.FileOutputStream;
import java.io.IOException;

import org.apache.poi.util.IOUtils;
import org.apache.poi.xslf.usermodel.XMLSlideShow;
import org.apache.poi.xslf.usermodel.XSLFPictureData;
import org.apache.poi.xslf.usermodel.XSLFPictureShape;
import org.apache.poi.xslf.usermodel.XSLFSlide;

public class AddingImage {

   public static void main(String args[]) throws IOException{

      //creating a presentation
      XMLSlideShow ppt = new XMLSlideShow();

      //creating a slide in it
      XSLFSlide slide = ppt.createSlide();

      //reading an image
      File image=new File("C://POIPPT//boy.jpg");

      //converting it into a byte array
      byte[] picture = IOUtils.toByteArray(new FileInputStream(image));

      //adding the image to the presentation
      int idx = ppt.addPicture(picture, XSLFPictureData.PICTURE_TYPE_PNG);

      //creating a slide with given picture on it
      XSLFPictureShape pic = slide.createPicture(idx);

      //creating a file object
      File file=new File("addingimage.pptx");
      FileOutputStream out = new FileOutputStream(file);

      //saving the changes to a file
      ppt.write(out)
      System.out.println("image added successfully");
      out.close();
   }
}
将上述Java代码保存为 AddingImage.java ,然后从命令提示符处编译并执行,如下所示:
$javac AddingImage.java
$java AddingImage
它将编译并执行以生成以下输出:
reordering of the slides is done
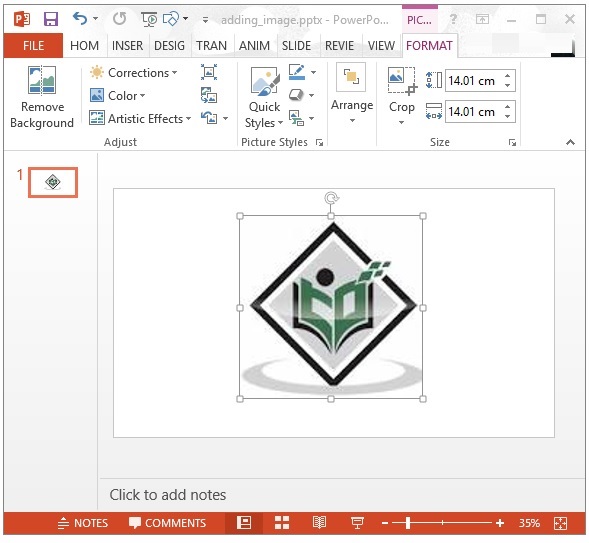
带有新添加的带有图像的幻灯片的演示文稿如下所示:

阅读图像
您可以使用 XMLSlideShow 类的 getAllPictures()方法获取所有图片的数据。 以下程序从演示文稿读取图像:
import java.io.File;
import java.io.FileInputStream;
import java.io.FileOutputStream;
import java.io.IOException;

import org.apache.poi.xslf.usermodel.XMLSlideShow;
import org.apache.poi.xslf.usermodel.XSLFPictureData;

public class Readingimage {

  public static void main(String args[]) throws IOException{

      //open an existing presentation
      File file = new File("addingimage.pptx");
      XMLSlideShow ppt = new XMLSlideShow(new FileInputStream(file));

      //reading all the pictures in the presentation
      for(XSLFPictureData data : ppt.getAllPictures()){

         byte[] bytes = data.getData();
         String fileName = data.getFileName();
         int pictureFormat = data.getPictureType();
         System.out.println("picture name: " + fileName);
         System.out.println("picture format: " + pictureFormat);
      }

      //saving the changes to a file
      FileOutputStream out = new FileOutputStream(file);
      ppt.write(out);
      out.close();
   }
}
将上述Java代码保存为 Readingimage.java ,然后从命令提示符处编译并执行,如下所示:
$javac Readingimage.java
$java Readingimage
它将编译并执行以生成以下输出:
picture name: image1.png
picture format: 6