通过现有数据库在 ASP.NET Core 上开始使用 EF Core
在本教程中,你将使用 Entity Framework Core 构建执行基本数据访问的 ASP.NET Core MVC 应用程序。 要对现有数据库进行反向工程,以创建 Entity Framework 模型。
系统必备
安装以下软件:
- 具有以下工作负载的 Visual Studio 2017 15.7:“ASP.NET 和 Web 开发”(位于“Web 和云”下)“.NET Core 跨平台开发”(位于“其他工具集”下)
- .NET Core 2.1 SDK.
创建博客数据库
本教程使用 LocalDb 实例上的博客数据库作为现有数据库。 如果已在其他教程中创建了博客数据库,请跳过这些步骤。
- 打开 Visual Studio
- “工具”->“连接到数据库...”
- 选择“Microsoft SQL Server”,然后单击“继续”
- 输入“(localdb)\mssqllocaldb”作为服务器名称
- 输入“master”作为数据库名称,然后单击“确定”
- Master 数据库现在显示在“服务器资源管理器”的“数据连接”中
- 右键单击“服务器资源管理器”中的数据库,然后选择“新建查询”
- 将下列脚本复制到查询编辑器中
- 右键单击查询编辑器,然后选择“执行”
SQL
CREATE DATABASE [Blogging];
GO

USE [Blogging];
GO

CREATE TABLE [Blog] (
    [BlogId] int NOT NULL IDENTITY,
    [Url] nvarchar(max) NOT NULL,
    CONSTRAINT [PK_Blog] PRIMARY KEY ([BlogId])
);
GO

CREATE TABLE [Post] (
    [PostId] int NOT NULL IDENTITY,
    [BlogId] int NOT NULL,
    [Content] nvarchar(max),
    [Title] nvarchar(max),
    CONSTRAINT [PK_Post] PRIMARY KEY ([PostId]),
    CONSTRAINT [FK_Post_Blog_BlogId] FOREIGN KEY ([BlogId]) REFERENCES [Blog] ([BlogId]) ON DELETE CASCADE
);
GO

INSERT INTO [Blog] (Url) VALUES
('http://blogs.msdn.com/dotnet'),
('http://blogs.msdn.com/webdev'),
('http://blogs.msdn.com/visualstudio')
GO
创建新项目
- 打开 Visual Studio 2017
- “文件”>“新建”>“项目...”
- 从左菜单中选择“已安装”>“Visual C#”>“Web”。
- 选择“ASP.NET Core Web 应用程序”项目模板
- 输入 EFGetStarted.AspNetCore.ExistingDb 作为名称(它必须完全匹配稍后在代码中使用的命名空间),再单击“确定”
- 等待“新建 ASP.NET Core Web 应用程序”对话框显示出来
- 确保目标框架下拉列表设置为 .NET Core,版本下拉列表设置为 ASP.NET Core 2.1
- 选择“Web 应用程序(模型视图控制器)”模板
- 确保将“身份验证”设置为“无身份验证”
- 单击“确定”
安装 Entity Framework Core
要安装 EF Core,请为要作为目标对象的 EF Core 数据库提供程序安装程序包。 有关可用提供程序的列表,请参阅数据库提供程序。
对于本教程,无需安装提供程序包,因为本教程使用 SQL Server。 SQL Server 提供程序包包含在 Microsoft.AspnetCore.App 元包中。
对模型实施反向工程
现在是时候基于现有数据库创建 EF 模型了。
- “工具”–>“NuGet 包管理器”–>“包管理器控制台”
- 运行以下命令以从现有数据库创建模型:
PowerShell
Scaffold-DbContext "Server=(localdb)\mssqllocaldb;Database=Blogging;Trusted_Connection=True;" Microsoft.EntityFrameworkCore.SqlServer -OutputDir Models
如果收到错误,指出 The term 'Scaffold-DbContext' is not recognized as the name of a cmdlet,请关闭并重新打开 Visual Studio。
提示
可以通过将 -Tables 参数添加到上述命令来指定要为哪些表生成实体。 例如 -Tables Blog,Post。
反向工程过程基于现有数据库的架构创建实体类 (Blog.cs & Post.cs) 和派生上下文 (BloggingContext.cs)。
实体类是简单的 C# 对象,代表要查询和保存的数据。 以下是 Blog 和 Post 实体类:
C#
using System;
using System.Collections.Generic;

namespace EFGetStarted.AspNetCore.ExistingDb.Models
{
    public partial class Blog
    {
        public Blog()
        {
            Post = new HashSet<Post>();
        }

        public int BlogId { get; set; }
        public string Url { get; set; }

        public ICollection<Post> Post { get; set; }
    }
}
C#
using System;
using System.Collections.Generic;

namespace EFGetStarted.AspNetCore.ExistingDb.Models
{
    public partial class Post
    {
        public int PostId { get; set; }
        public int BlogId { get; set; }
        public string Content { get; set; }
        public string Title { get; set; }

        public Blog Blog { get; set; }
    }
}
提示
若要启用延迟加载,可以创建导航属性 virtual(Blog.Post 和 Post.Blog)。
上下文表示与数据库的会话,并允许查询和保存实体类的实例。
C#
public partial class BloggingContext : DbContext
{
   public BloggingContext()
   {
   }

   public BloggingContext(DbContextOptions<BloggingContext> options)
       : base(options)
   {
   }

   public virtual DbSet<Blog> Blog { get; set; }
   public virtual DbSet<Post> Post { get; set; }

   protected override void OnConfiguring(DbContextOptionsBuilder optionsBuilder)
   {
       if (!optionsBuilder.IsConfigured)
       {
           #warning To protect potentially sensitive information in your connection string, you should move it out of source code. See http://go.microsoft.com/fwlink/?LinkId=723263 for guidance on storing connection strings.
           optionsBuilder.UseSqlServer(@"Server=(localdb)\mssqllocaldb;Database=Blogging;Trusted_Connection=True;");
       }
   }

   protected override void OnModelCreating(ModelBuilder modelBuilder)
   {
       modelBuilder.Entity<Blog>(entity =>
       {
           entity.Property(e => e.Url).IsRequired();
       });

       modelBuilder.Entity<Post>(entity =>
       {
           entity.HasOne(d => d.Blog)
               .WithMany(p => p.Post)
               .HasForeignKey(d => d.BlogId);
       });
   }
}
通过依赖关系注入注册上下文
依赖关系注入的概念是 ASP.NET Core 的核心。 服务(例如 BloggingContext)在应用程序启动期间通过依赖关系注入进行注册。 然后,通过构造函数参数或属性为需要这些服务的组件(如 MVC 控制器)提供相应服务。 有关依赖关系注入的详细信息,请参阅 ASP.NET 网站上的文章依赖关系注入。
在 Startup.cs 中注册并配置上下文
若要使 BloggingContext 对 MVC 控制器可用,请将其注册为服务。
- 打开 Startup.cs
- 在文件开头添加以下 using 语句
C#
using EFGetStarted.AspNetCore.ExistingDb.Models;
using Microsoft.EntityFrameworkCore;
现在,可以使用 AddDbContext(...) 方法将其注册为服务。
- 找到 ConfigureServices(...) 方法
- 添加以下突出显示的代码以将上下文注册为服务
C#
// This method gets called by the runtime. Use this method to add services to the container.
public void ConfigureServices(IServiceCollection services)
{
    services.Configure<CookiePolicyOptions>(options =>
    {
        // This lambda determines whether user consent for non-essential cookies is needed for a given request.
        options.CheckConsentNeeded = context => true;
        options.MinimumSameSitePolicy = SameSiteMode.None;
    });


    services.AddMvc().SetCompatibilityVersion(CompatibilityVersion.Version_2_1);

    var connection = @"Server=(localdb)\mssqllocaldb;Database=Blogging;Trusted_Connection=True;ConnectRetryCount=0";
    services.AddDbContext<BloggingContext>(options => options.UseSqlServer(connection));
}
提示
在实际的应用程序中,通常会将连接字符串置于配置文件或环境变量中。 为简单起见,本教程要你在代码中定义它。 有关详细信息,请参阅连接字符串。
创建控制器和视图
- 在“解决方案资源管理器”中,右键单击“控制器”文件夹,然后选择“添加”->“控制器...”
- 选择“视图使用 Entity Framework 的 MVC 控制器”,然后单击“确定”
- 将“模型类”设置为“Blog”,将“数据上下文类”设置为“BloggingContext”
- 单击“添加”
运行此应用程序
现在可以运行应用程序来查看其实际运行情况。
- “调试”->“开始执行(不调试)”
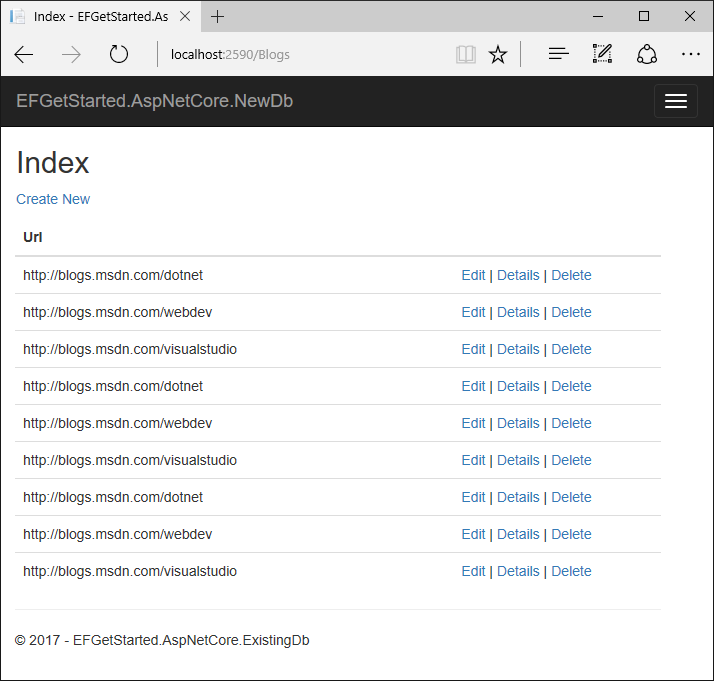
- 应用程序将生成并在 Web 浏览器中打开
- 导航到 /Blogs
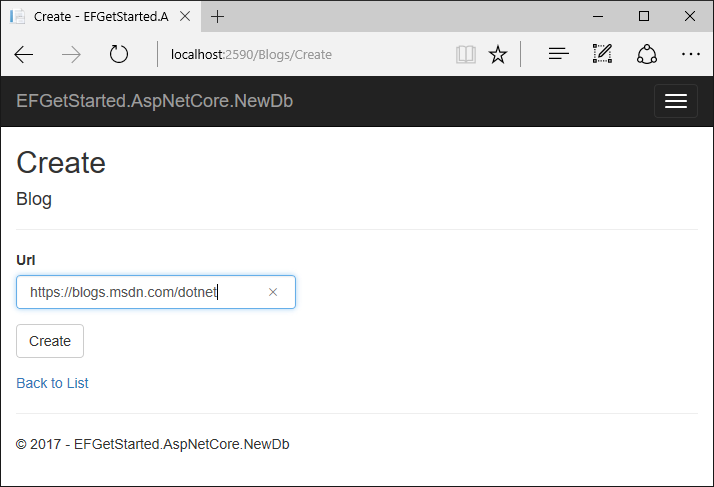
- 单击“新建”
- 输入新博客的 Url,然后单击“创建”