
快速使用指南:Ollama与CodeGeeX4-ALL-9B的集成教程
快速使用
Ollama教程
Ollama也是一个开源项目,是在本地快速跑各种开源大模型的最优选择之一。CodeGeeX4-ALL-9B在开源后不到24小时就获得了Ollama的支持,目前通过Ollama下载已经超过了10,000次+。
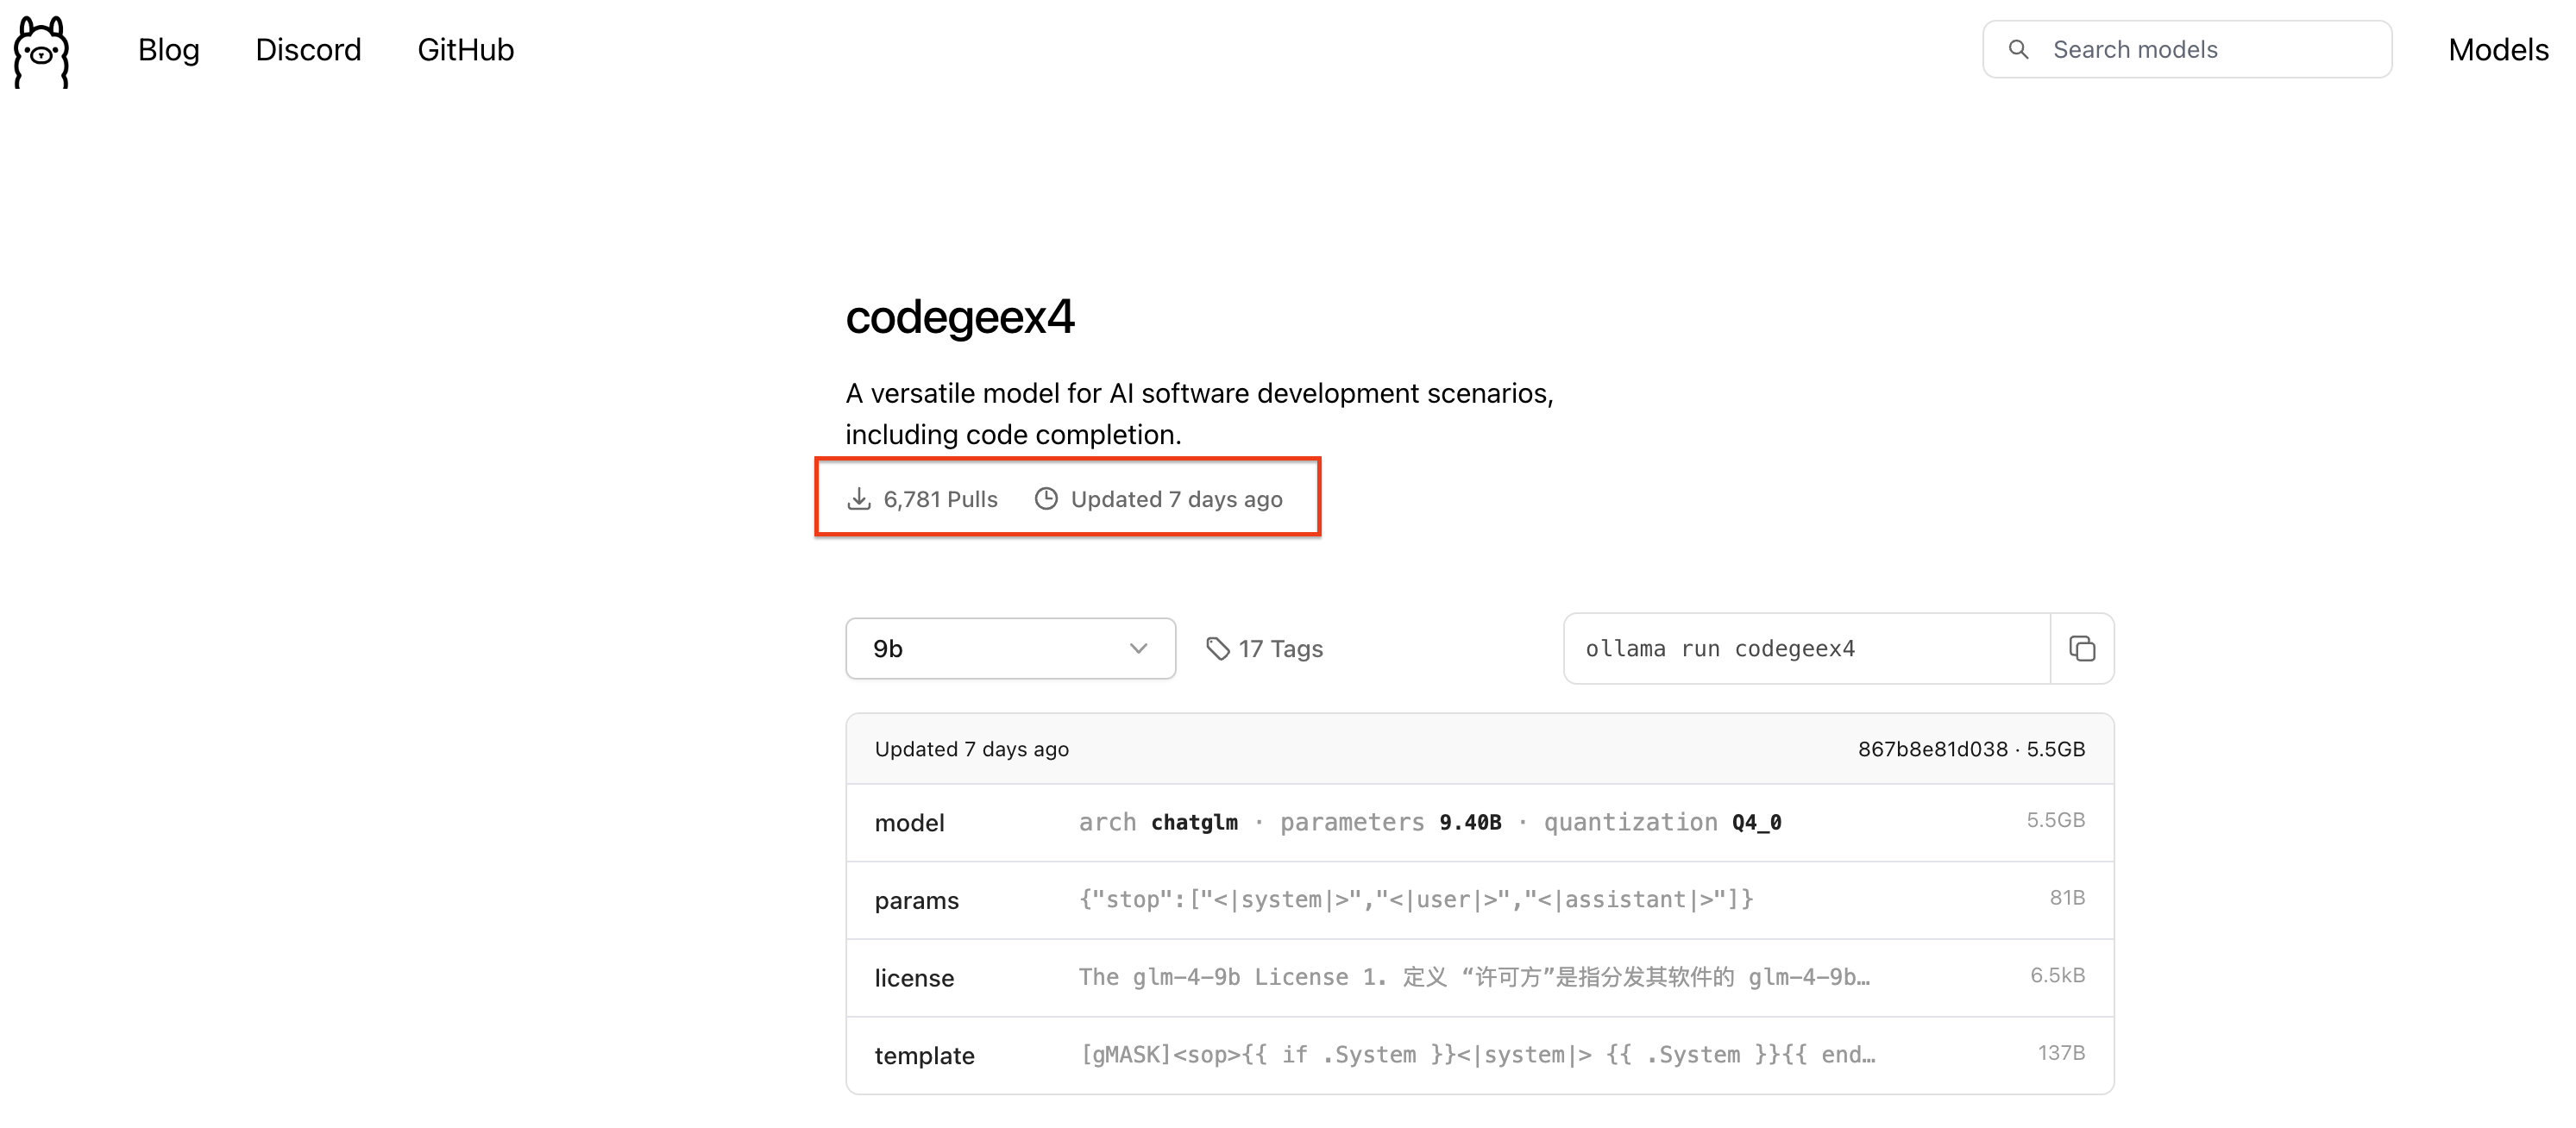
Mac环境下的配置教程:
安装使用的过程非常简单,跟着下面的教程,大家也可以一起来体验:
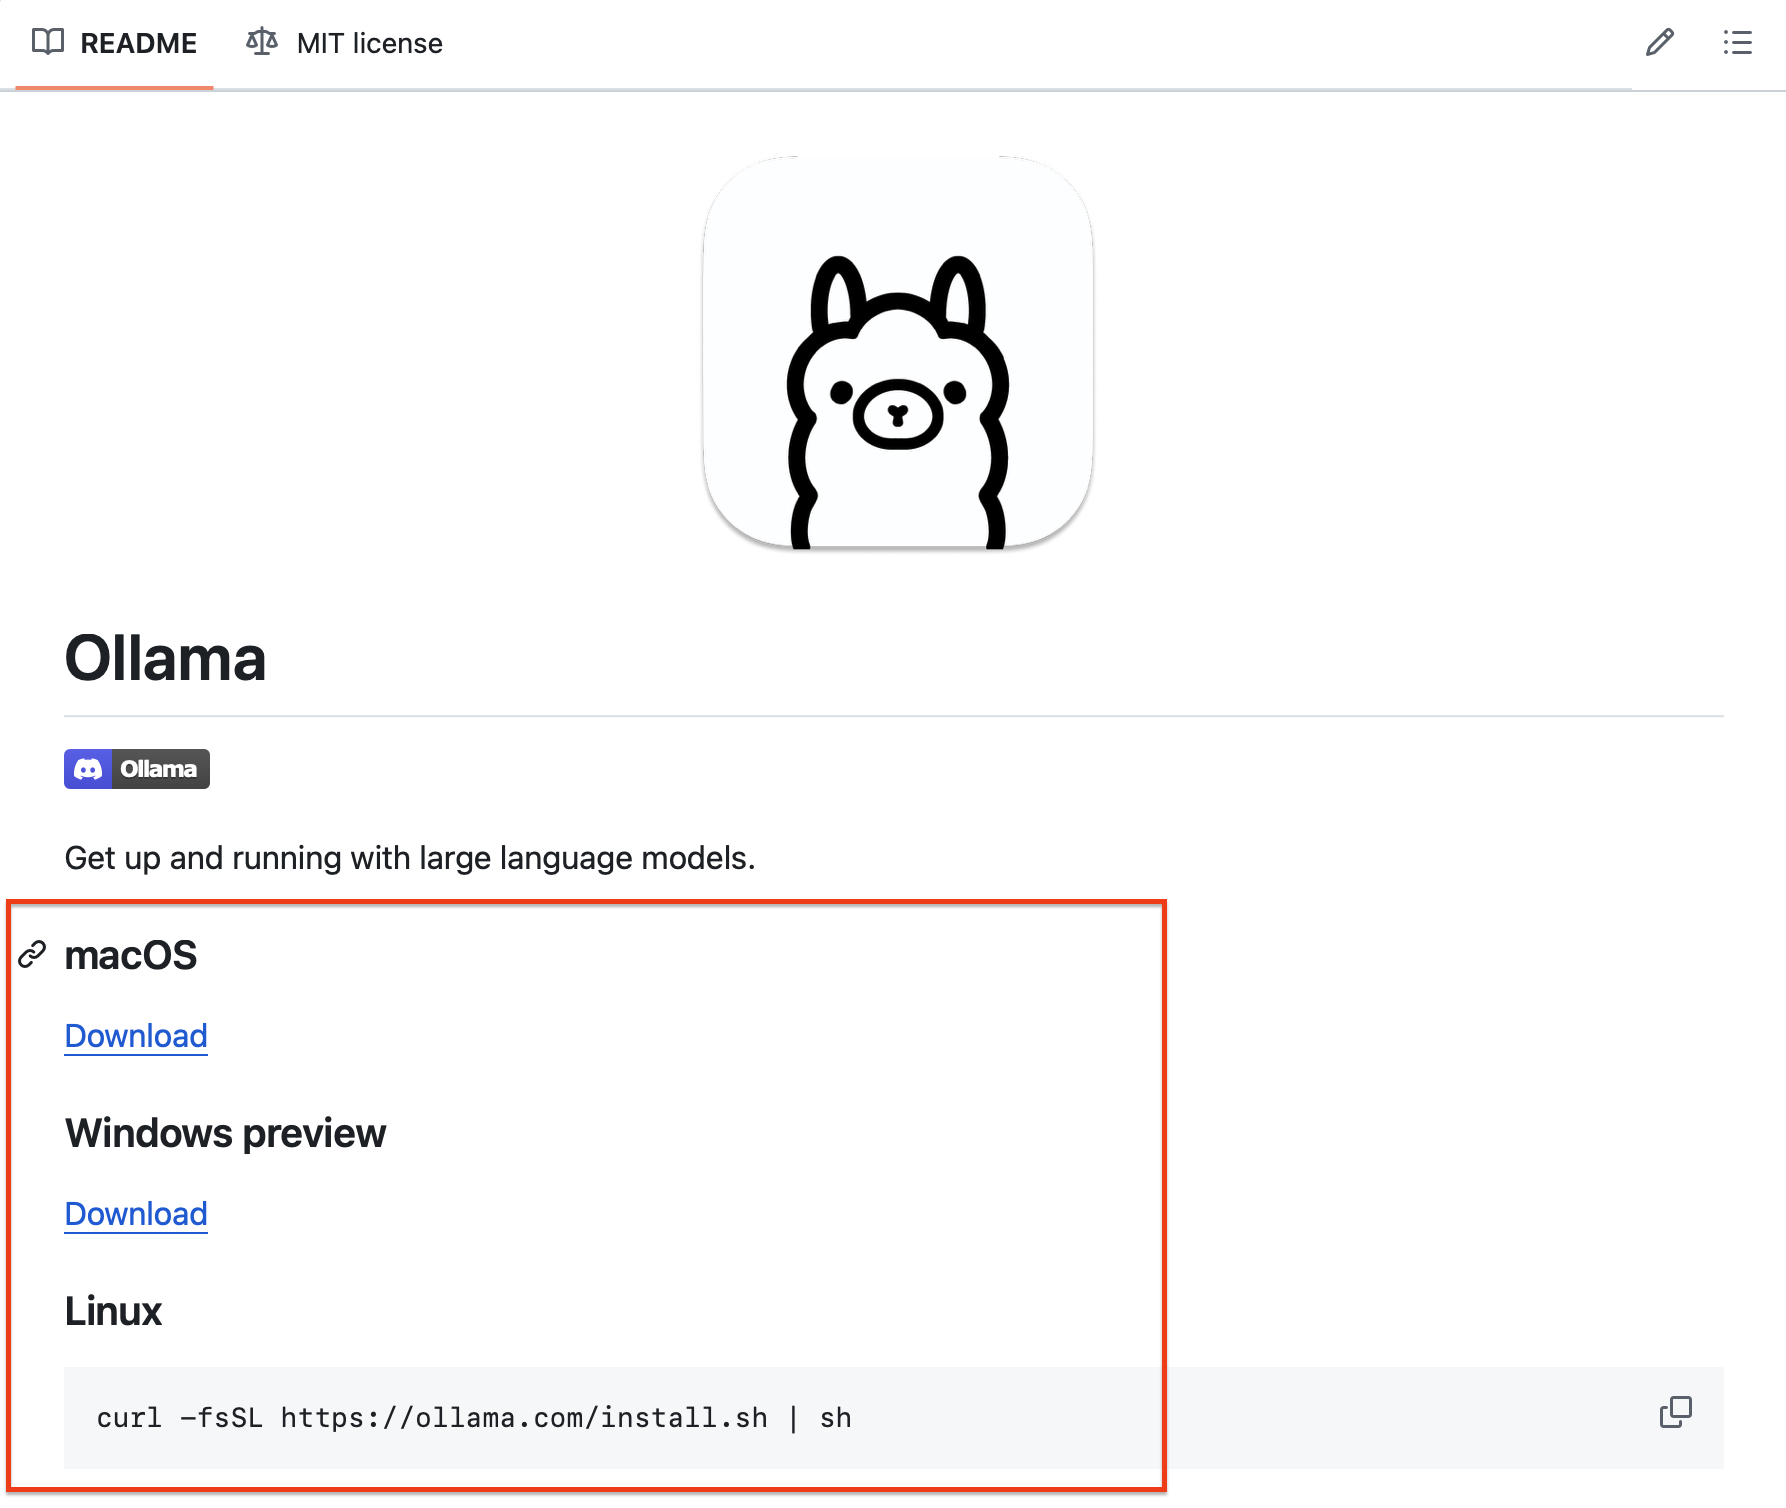
首先,把Ollama开源项目一键安装在自己的电脑上。建议安装Ollama0.2或更高版本。MacOS和Windows都有一键安装包。Linux也只需要执行一行命令。
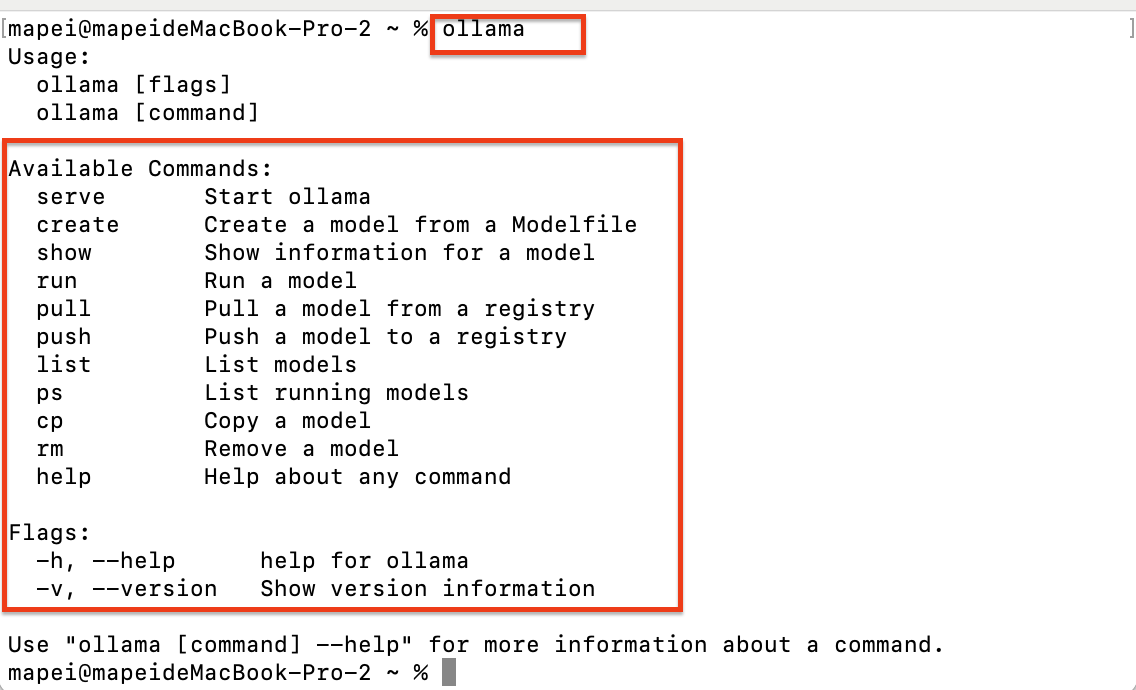
安装完成后,打开终端,输入ollama,能看到这些信息就说明Ollama已经安装成功。
接下来我们打开Ollama的官网,搜索CodeGeeX4。

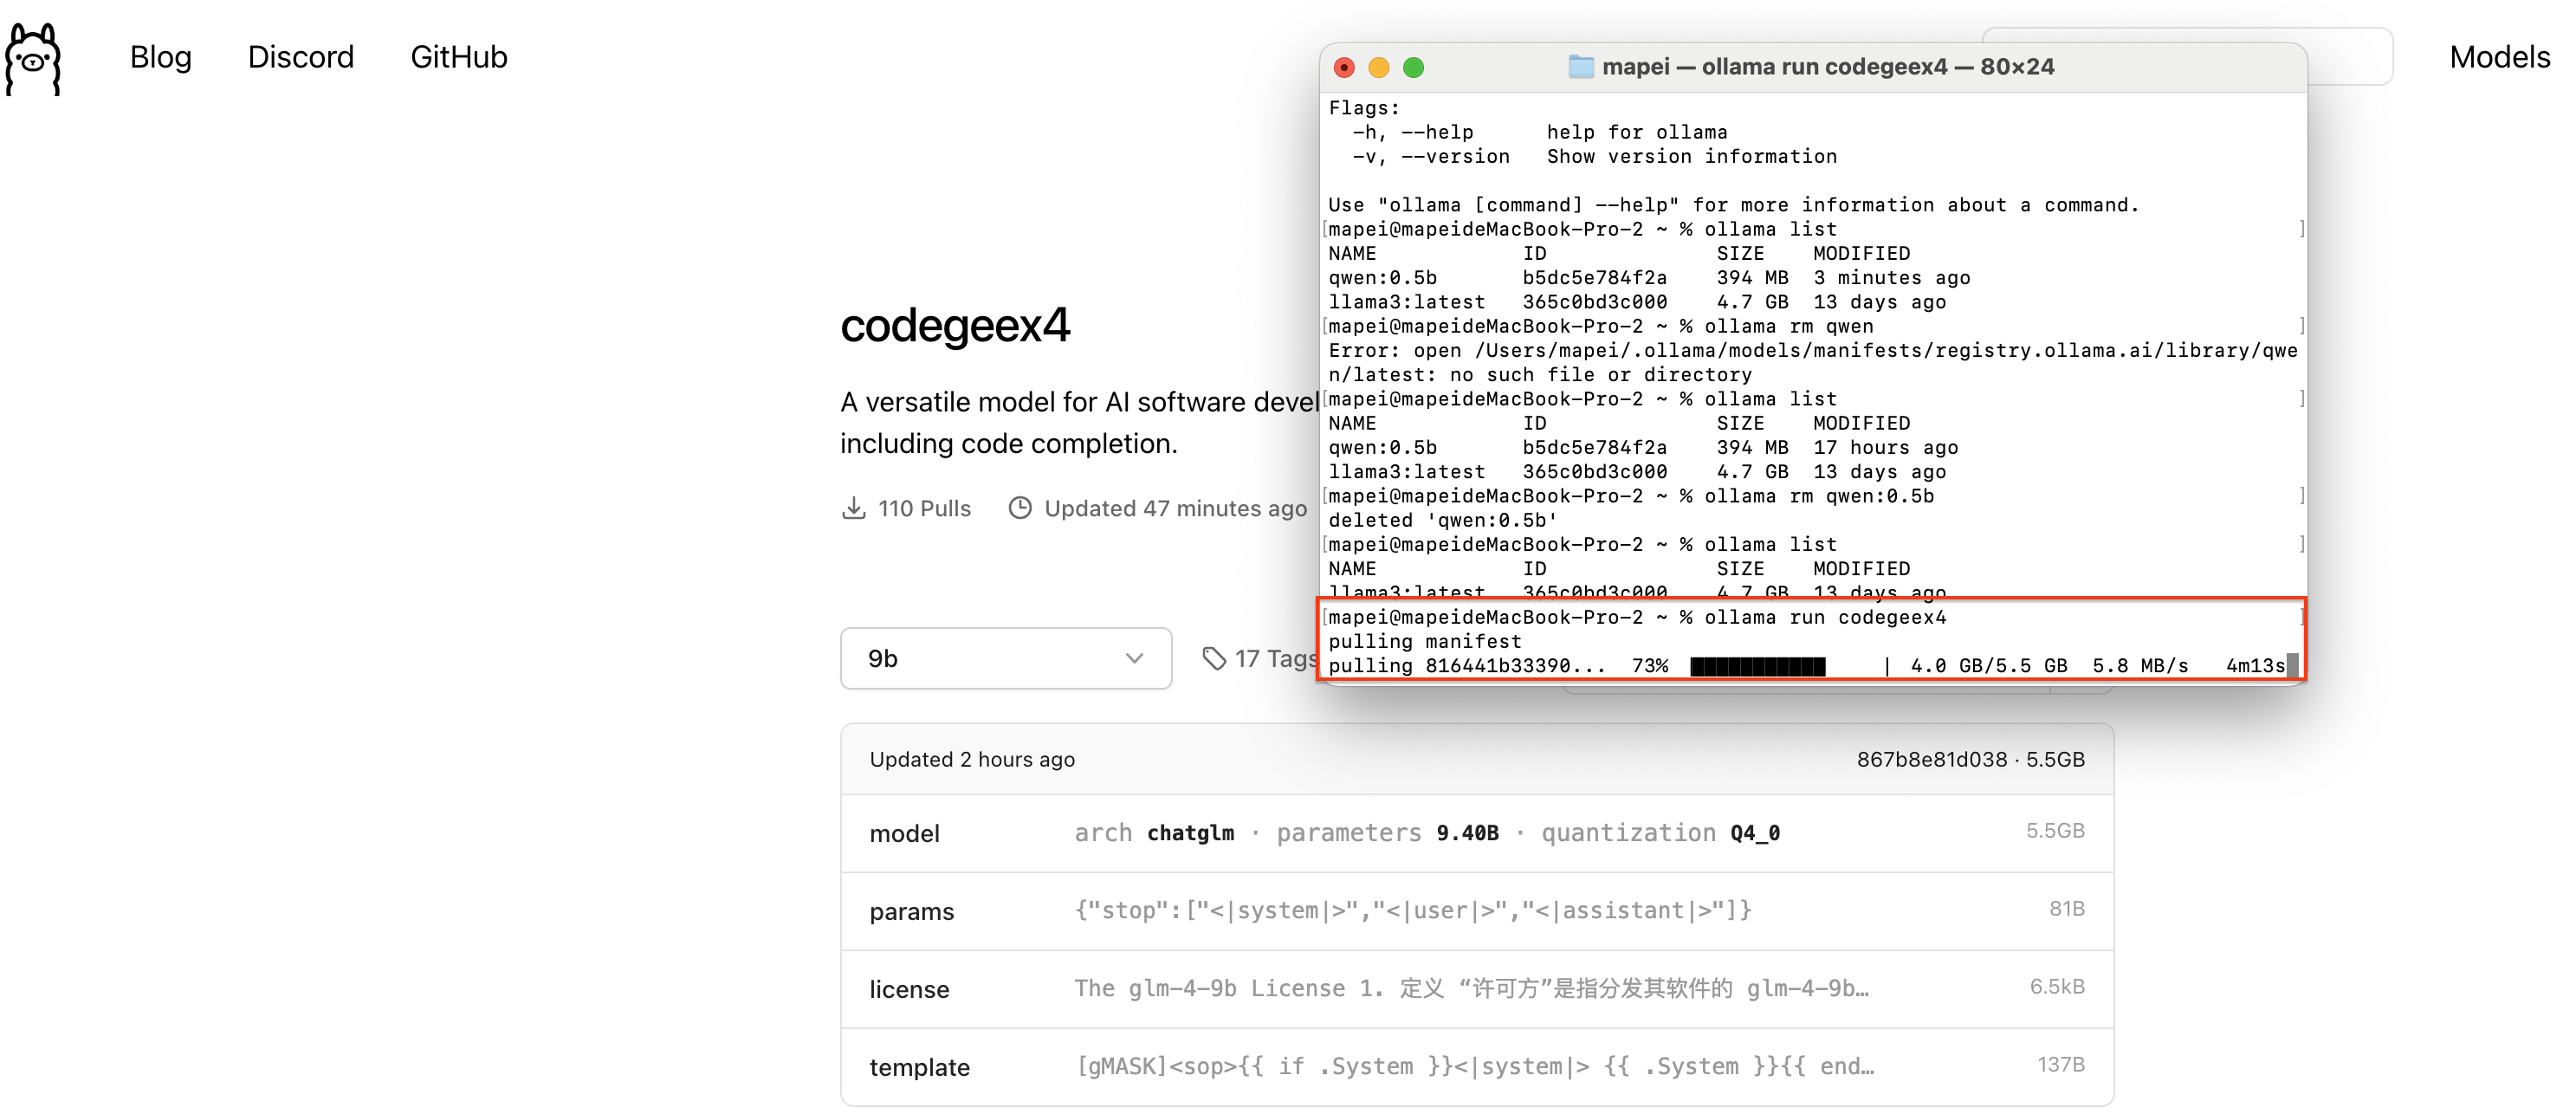
打开进入详情页面,就可以看到CodeGeeX4-ALL-9B模型的相关介绍和使用命令了,复制运行命令
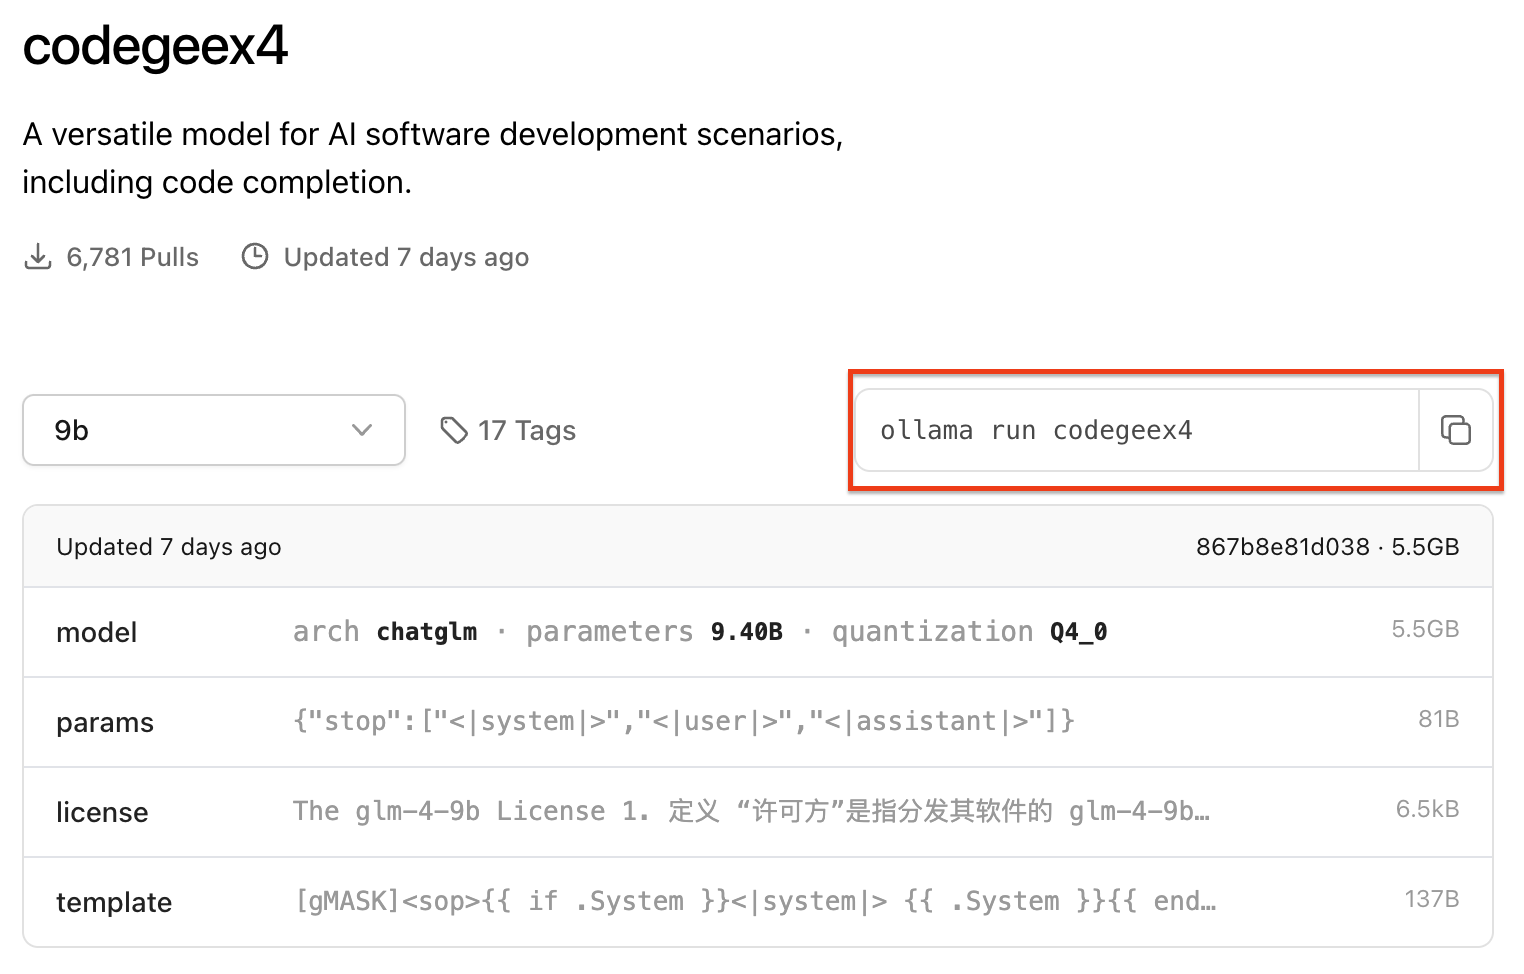
在终端运行刚才复制的模型运行命令,就开始安装CodeGeeX4-ALL-9B模型了
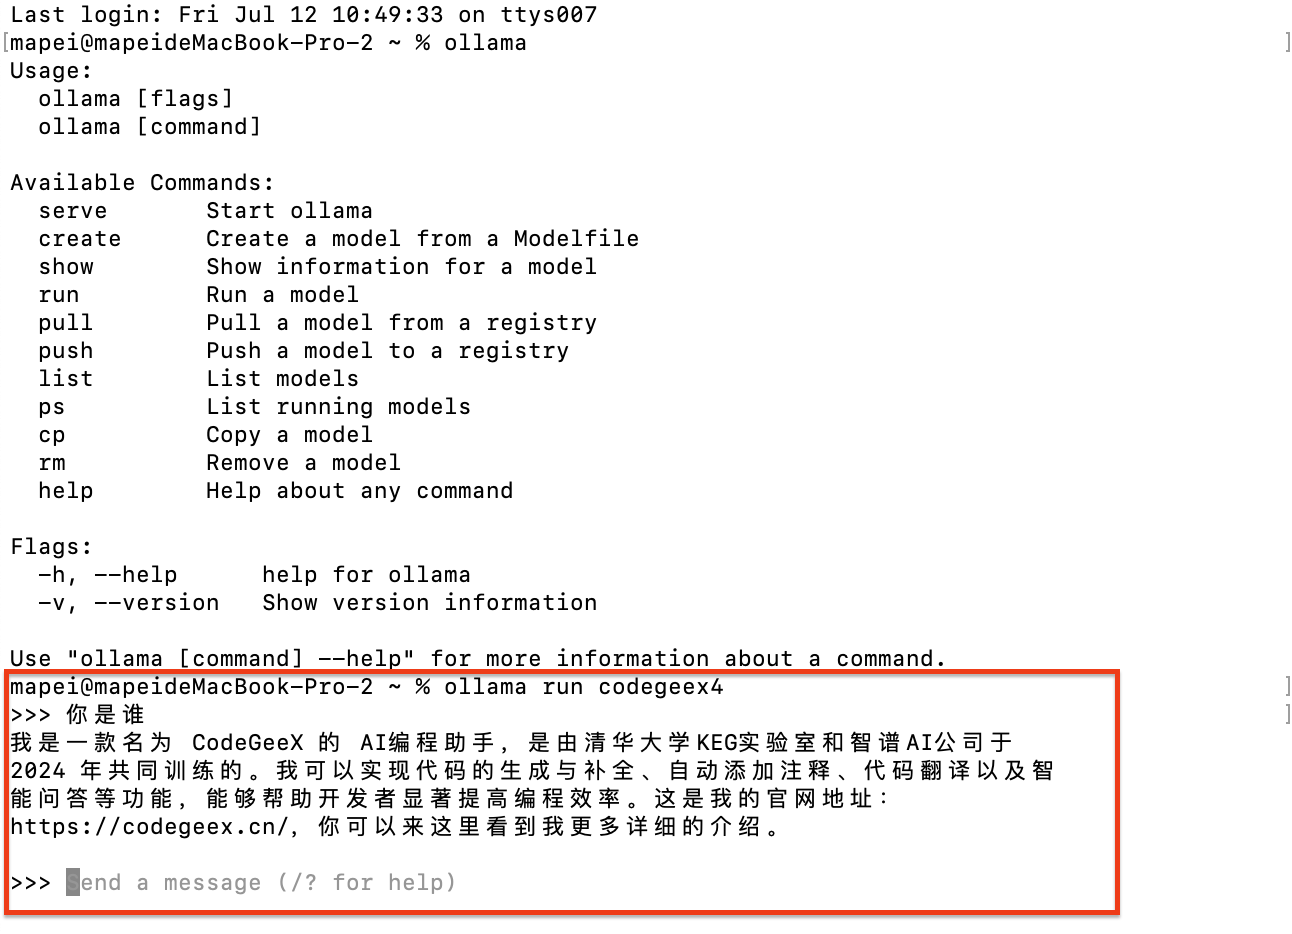
看到终端命令行提示的“Send a message”就说明CodeGeeX4-ALL-9B已经成功安装在你的电脑上,你可以直接在这里输入问题和CodeGeeX4-ALL-9B进行对话。
接下来按照下面的步骤,就可以把CodeGeeX4-ALL-9B接入到您的CodeGeeX插件本地模式中。
两个平台的步骤相同。
-
配置跨域所需的环境变量在终端输入
export OLLAMA_ORIGINS="*"或
launchctl setenv OLLAMA_ORIGINS "*"来设置环境变量,Windows环境可以观看下方视频,了解如何手动配置环境变量。
-
设置后需要重启 Ollama 服务和 IDE(VSCode 或其他环境) 使环境变量生效。
-
启动CodeGeeX4,在终端输入
ollama serve打开一个新的终端,在终端输入
ollama run codegeex4-
配置接口地址在CodeGeeX插件的本地模式设置中,输入模型地址:
http://localhost:11434/v1/chat/completions打开模型配置的高级模式,在模型名称栏填写
codegeex4现在就可以享受 CodeGeeX4在本地提供的编码体验!

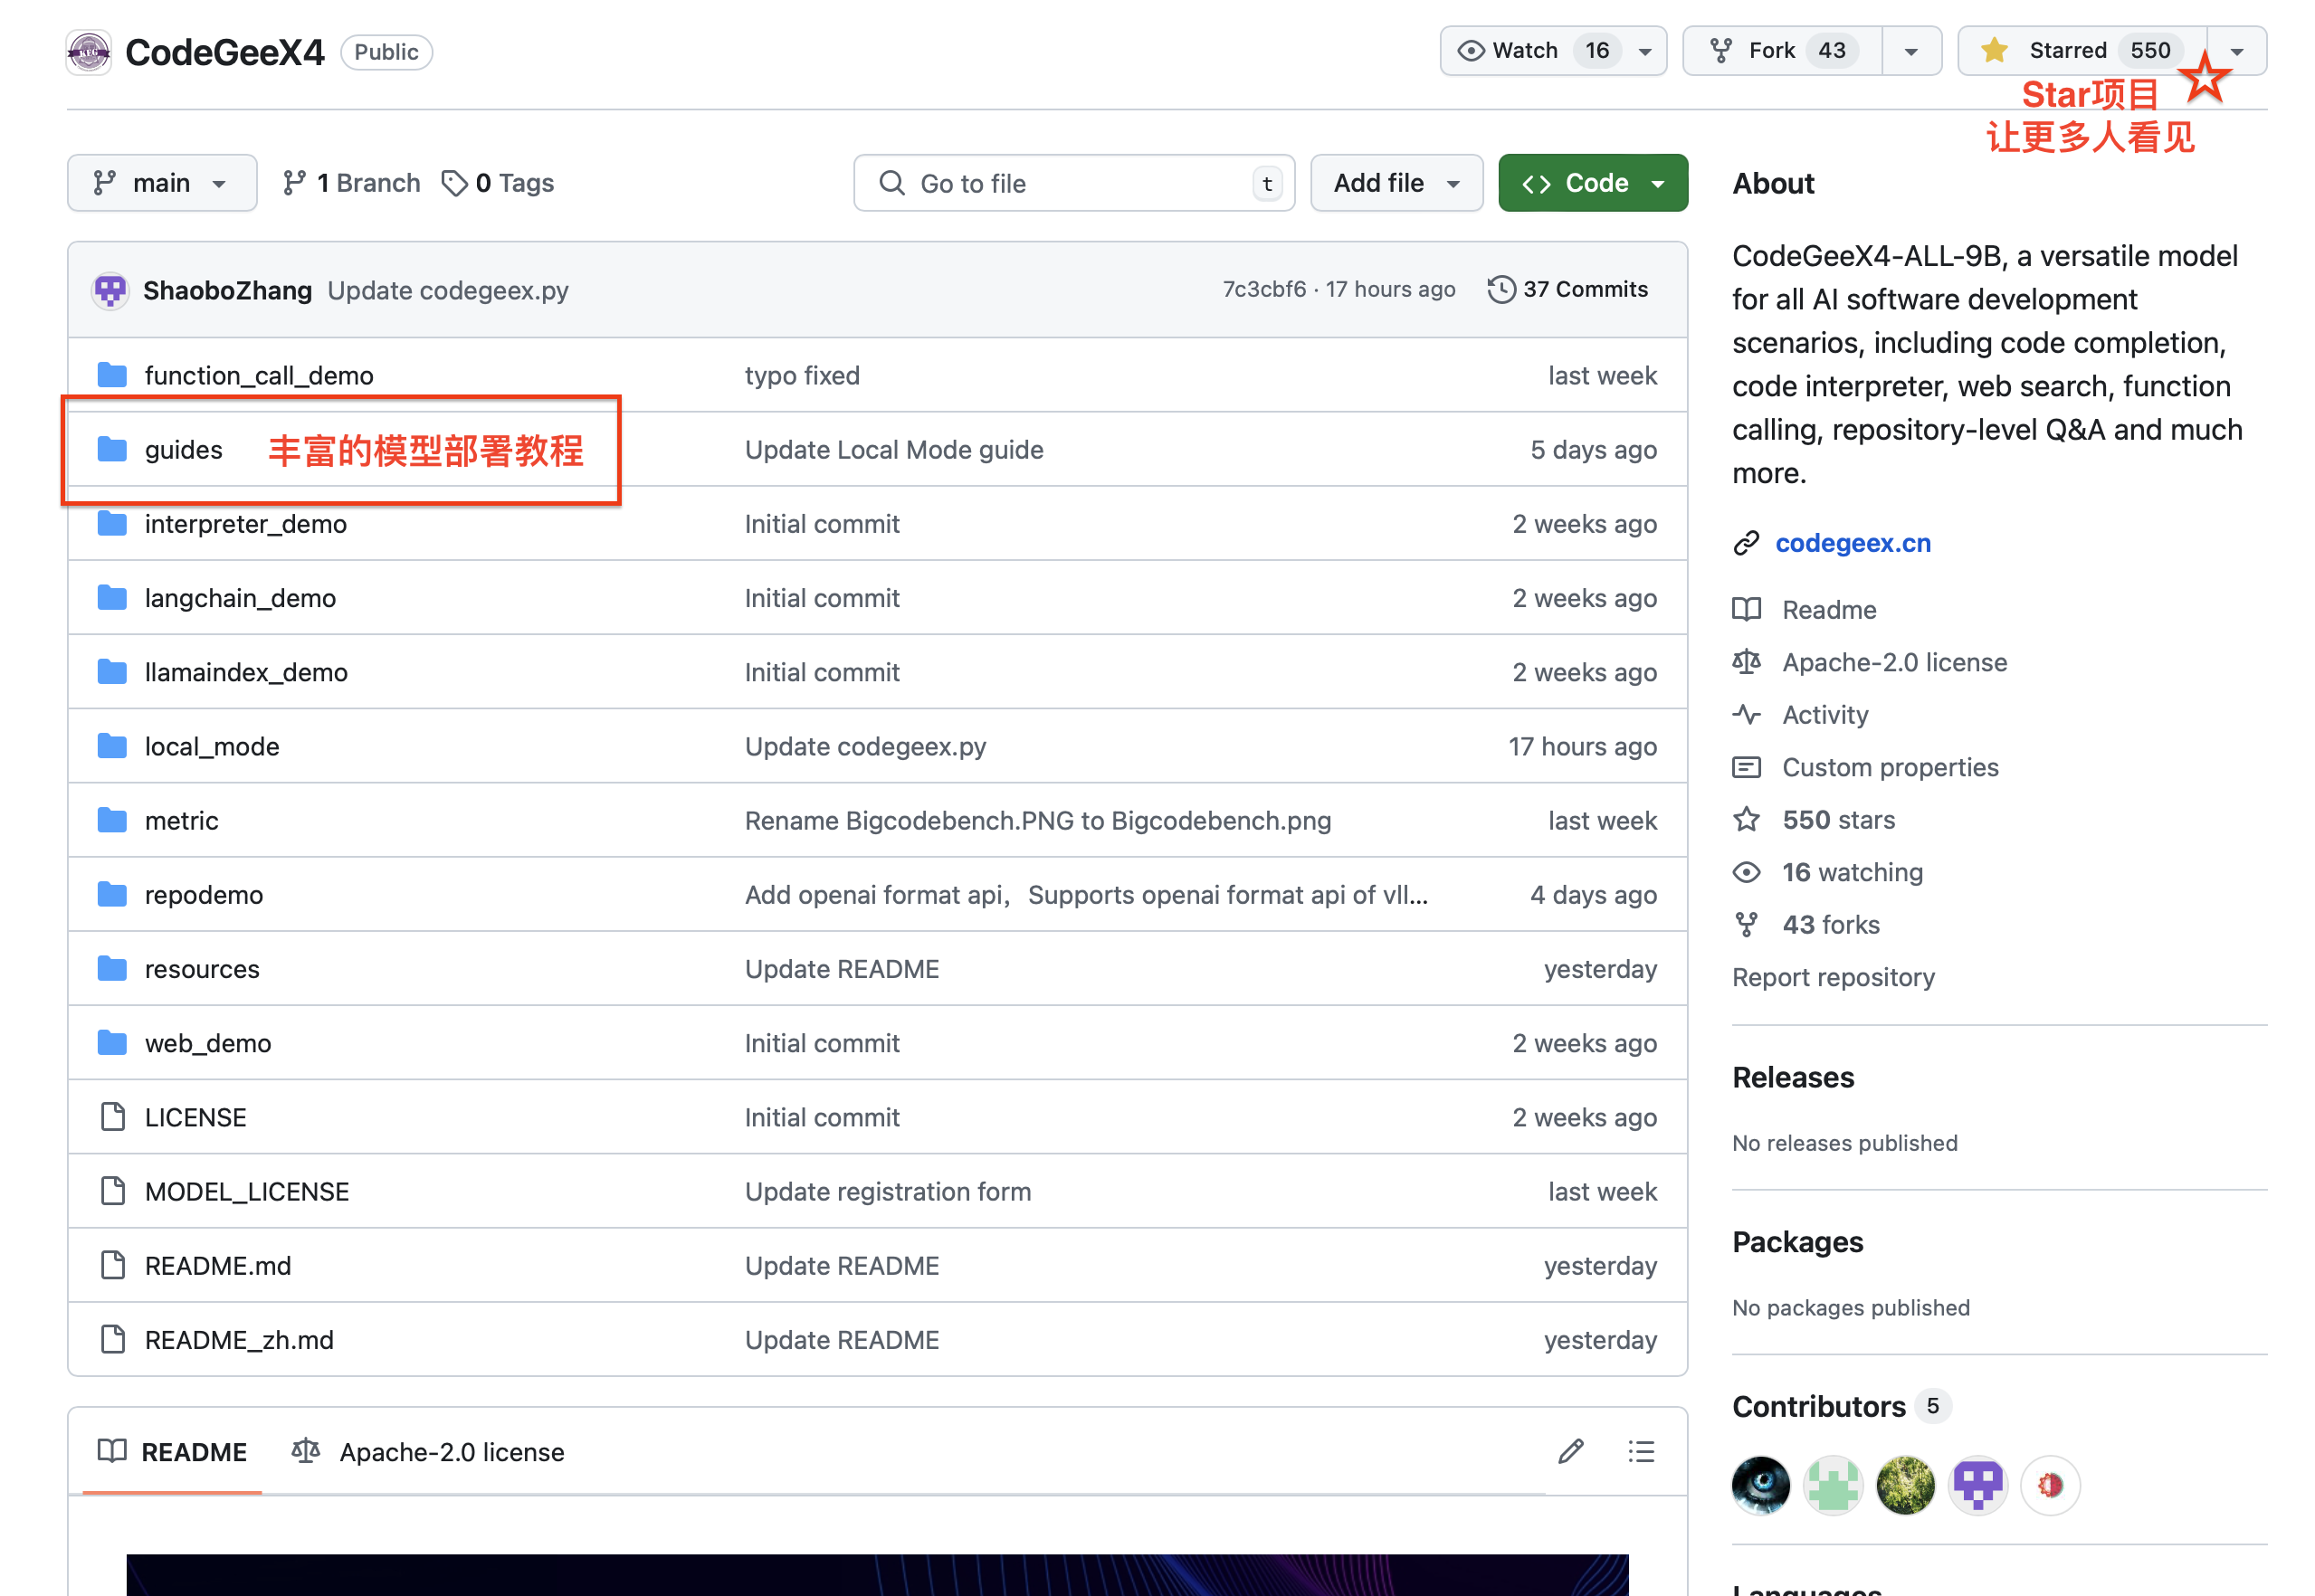
希望了解更多模型部署的教程,可以前往CodeGeeX4在Github上的教程与Demo查看,如果您喜欢我们的项目并认为它对您有帮助,请在GitHub上为CodeGeeX4点一个⭐️ Star!
Huggingface Transformers
请使用 4.39.0<=transformers<=4.40.2 部署 codegeex4-all-9b:
from transformers import AutoTokenizer, AutoModelForCausalLM

device = "cuda" if torch.cuda.is_available() else "cpu"
tokenizer = AutoTokenizer.from_pretrained("THUDM/codegeex4-all-9b", trust_remote_code=True)
model = AutoModelForCausalLM.from_pretrained(
"THUDM/codegeex4-all-9b",
torch_dtype=torch.bfloat16,
low_cpu_mem_usage=True,
trust_remote_code=True
).to(device).eval()
inputs = tokenizer.apply_chat_template([{"role": "user", "content": "write a quick sort"}], add_generation_prompt=True, tokenize=True, return_tensors="pt", return_dict=True).to(device)
with torch.no_grad():
outputs = model.generate(**inputs)
outputs = outputs[:, inputs['input_ids'].shape[1]:]
print(tokenizer.decode(outputs[0], skip_special_tokens=True))
vLLM
使用 vllm==0.5.1 快速启动 codegeex4-all-9b:
from transformers import AutoTokenizer
from vllm import LLM, SamplingParams

# CodeGeeX4-ALL-9B
# max_model_len, tp_size = 1048576, 4
# If OOM,please reduce max_model_len,or increase tp_size
max_model_len, tp_size = 131072, 1
model_name = "codegeex4-all-9b"
prompt = [{"role": "user", "content": "Hello"}]

tokenizer = AutoTokenizer.from_pretrained(model_name, trust_remote_code=True)
llm = LLM(
model=model_name,
tensor_parallel_size=tp_size,
max_model_len=max_model_len,
trust_remote_code=True,
enforce_eager=True,
# If OOM,try using follong parameters
# enable_chunked_prefill=True,
# max_num_batched_tokens=8192
)
stop_token_ids = [151329, 151336, 151338]
sampling_params = SamplingParams(temperature=0.95, max_tokens=1024, stop_token_ids=stop_token_ids)

inputs = tokenizer.apply_chat_template(prompt, tokenize=False, add_generation_prompt=True)
outputs = llm.generate(prompts=inputs, sampling_params=sampling_params)

print(outputs[0].outputs[0].text)
通过 vllm 设置 OpenAI 兼容服务,详细信息请查看 OpenAI 兼容服务器:
python -m vllm.entrypoints.openai.api_server \
--model THUDM/codegeex4-all-9b \
--trust_remote_code