OpenCV Viz创建小部件
目标
在本教程中,您将学习如何
- 使用WidgetAccessor和VTK创建自己的小部件。
- 在可视化窗口中显示您的小部件。
Code
你可以从这里下载代码。
#ifndef USE_VTK
#include <iostream>
int main()
{
    std::cout << "This sample requires direct compilation with VTK. Stop" << std::endl;
    return 0;
}
#else
#include <opencv2/viz.hpp>
#include <opencv2/viz/widget_accessor.hpp>
#include <iostream>
#include <vtkPoints.h>
#include <vtkTriangle.h>
#include <vtkCellArray.h>
#include <vtkPolyData.h>
#include <vtkPolyDataMapper.h>
#include <vtkIdList.h>
#include <vtkActor.h>
#include <vtkProp.h>
using namespace cv;
using namespace std;
static void help()
{
    cout
    << "--------------------------------------------------------------------------"   << endl
    << "This program shows how to create a custom widget. You can create your own "
    << "widgets by extending Widget2D/Widget3D, and with the help of WidgetAccessor." << endl
    << "Usage:"                                                                       << endl
    << "./creating_widgets"                                                           << endl
    << endl;
}
class WTriangle : public viz::Widget3D
{
    public:
        WTriangle(const Point3f &pt1, const Point3f &pt2, const Point3f &pt3, const viz::Color & color = viz::Color::white());
};
WTriangle::WTriangle(const Point3f &pt1, const Point3f &pt2, const Point3f &pt3, const viz::Color & color)
{
    // Create a triangle
    vtkSmartPointer<vtkPoints> points = vtkSmartPointer<vtkPoints>::New();
    points->InsertNextPoint(pt1.x, pt1.y, pt1.z);
    points->InsertNextPoint(pt2.x, pt2.y, pt2.z);
    points->InsertNextPoint(pt3.x, pt3.y, pt3.z);
    vtkSmartPointer<vtkTriangle> triangle = vtkSmartPointer<vtkTriangle>::New();
    triangle->GetPointIds()->SetId(0,0);
    triangle->GetPointIds()->SetId(1,1);
    triangle->GetPointIds()->SetId(2,2);
    vtkSmartPointer<vtkCellArray> cells = vtkSmartPointer<vtkCellArray>::New();
    cells->InsertNextCell(triangle);
    // Create a polydata object
    vtkSmartPointer<vtkPolyData> polyData = vtkSmartPointer<vtkPolyData>::New();
    // Add the geometry and topology to the polydata
    polyData->SetPoints(points);
    polyData->SetPolys(cells);
    // Create mapper and actor
    vtkSmartPointer<vtkPolyDataMapper> mapper = vtkSmartPointer<vtkPolyDataMapper>::New();
#if VTK_MAJOR_VERSION <= 5
    mapper->SetInput(polyData);
#else
    mapper->SetInputData(polyData);
#endif
    vtkSmartPointer<vtkActor> actor = vtkSmartPointer<vtkActor>::New();
    actor->SetMapper(mapper);
    // Store this actor in the widget in order that visualizer can access it
    viz::WidgetAccessor::setProp(*this, actor);
    // Set the color of the widget. This has to be called after WidgetAccessor.
    setColor(color);
}
int main()
{
    help();
    viz::Viz3d myWindow("Creating Widgets");
    WTriangle tw(Point3f(0.0,0.0,0.0), Point3f(1.0,1.0,1.0), Point3f(0.0,1.0,0.0), viz::Color::red());
    myWindow.showWidget("TRIANGLE", tw);
    myWindow.spin();
    return 0;
}
#endif
说明
这是程序的一般结构:
- 扩展Widget3D类来创建一个新的3D小部件。
class WTriangle : public viz::Widget3D
{
    public:
        WTriangle(const Point3f &pt1, const Point3f &pt2, const Point3f &pt3, const viz::Color & color = viz::Color::white());
};- 将VTK actor分配给窗口小部件。
// Store this actor in the widget in order that visualizer can access it
viz::WidgetAccessor::setProp(*this, actor);- 设置小部件的颜色。
// Set the color of the widget. This has to be called after WidgetAccessor.
setColor(color);- 构造一个三角形小部件,并在窗口中显示它。
WTriangle tw(Point3f(0.0,0.0,0.0), Point3f(1.0,1.0,1.0), Point3f(0.0,1.0,0.0), viz::Color::red());
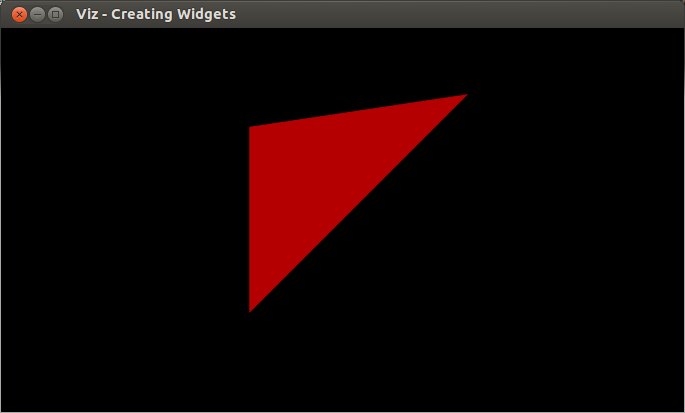
myWindow.showWidget("TRIANGLE", tw);结果
这是程序的结果